
Your first calcsheet
This is the “Hello, world!” of Maths Explore. In ten tiny steps you’ll give a sheet a heading, define a function, call it, convert the answer to feet, and watch everything update when an input changes. It takes about three minutes. You’ll need to be signed in; Getting started covers that, or you can follow along in the no-account demo.
1. Start a new sheet
Section titled “1. Start a new sheet”On your home page, press New maths sheet.

The calcsheet options dialog opens with the fresh sheet. Everything in it can wait: press Done to accept the defaults.
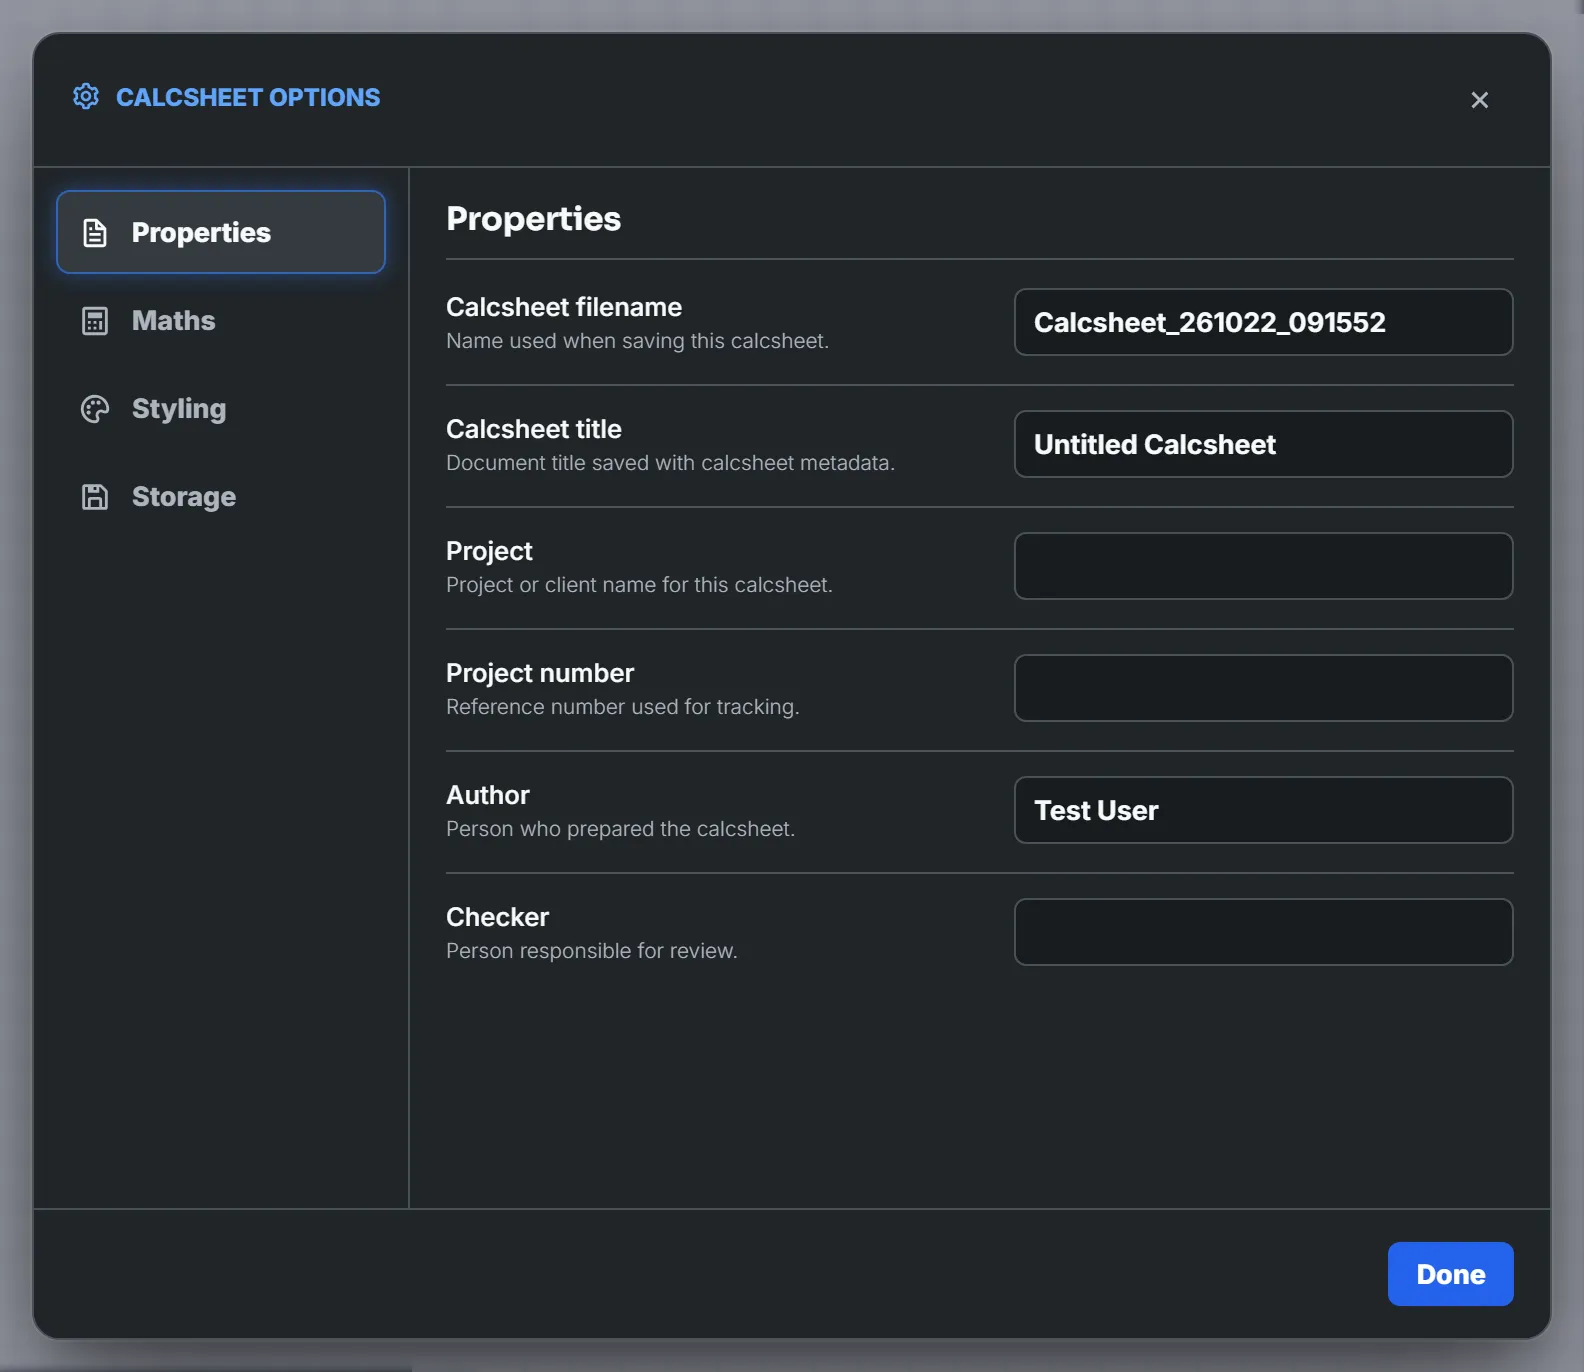
2. Click anywhere on the page
Section titled “2. Click anywhere on the page”Click an empty spot near the top of the page. A small marker appears where you clicked, with a toolbar of block types above it.

3. Give the sheet a heading
Section titled “3. Give the sheet a heading”With the marker showing, press ’. That’s the shortcut for a text block; you could press Text in the toolbar instead. Type Pythagoras, then press Alt + 1 to format the line as a heading.

Alt + 1 to Alt + 4 set the four heading levels. Add Shift and the headings number themselves through the sheet.
4. Define the two sides
Section titled “4. Define the two sides”Click below the heading and type a:3.m, just like that. The : key types the assignment symbol :=, and .m attaches the unit metres, shown in blue. Then click a little lower and type b:4.m the same way. (Sides of 3 and 4; anyone who has ever set out a right angle knows where this is going.)
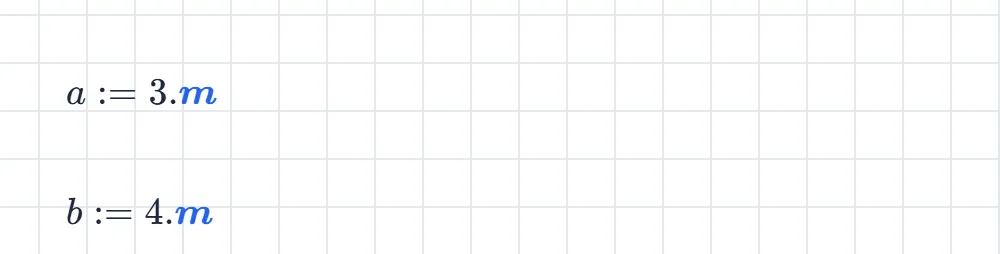
5. Define a function
Section titled “5. Define a function”Click below again and type:
x(y,z):sqrt(y^2+z^2)That defines as your own function: give it any two lengths and it returns the hypotenuse. Its name turns purple, and sqrt is green because it’s a built-in. The parameters and live only inside the function, so they don’t clash with anything on the sheet.

6. Call it, with a proper engineering name
Section titled “6. Call it, with a proper engineering name”Click below once more and type c_1:x(a,b). The underscore drops into a subscript, and when you press : the caret hops back out on its own, so the name comes out as .

Subscripted names are ordinary variables, which is how engineering symbols like stay writable. The block shows no result yet, and that’s the next step.
7. Show the result
Section titled “7. Show the result”A definition keeps its result to itself by default. Right-click the block and choose Show Evaluation.
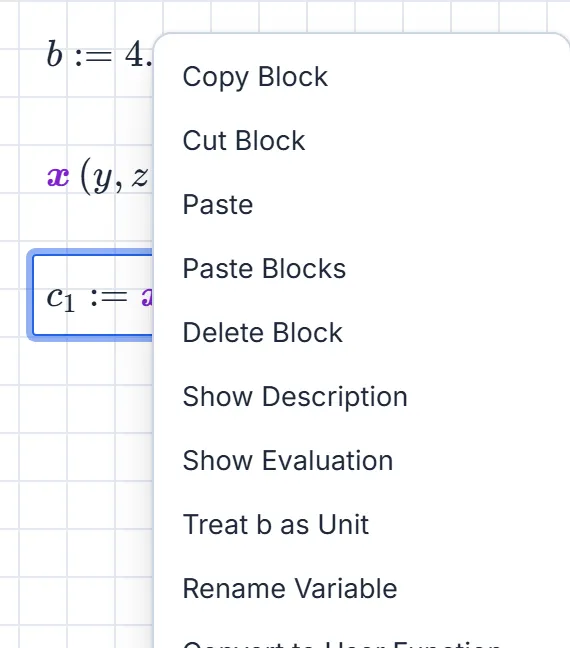
The result appears inline, units and all:

8. Show it in feet
Section titled “8. Show it in feet”Click the small at the end of the result. That’s the block’s result unit box. Replace it with ft and press Enter:

Only the display converts – the maths underneath stays exact. Clear the box to go back to the natural unit.
9. Change an input
Section titled “9. Change an input”This is the point of a calcsheet. Click into the first line, change the to a , and click away:
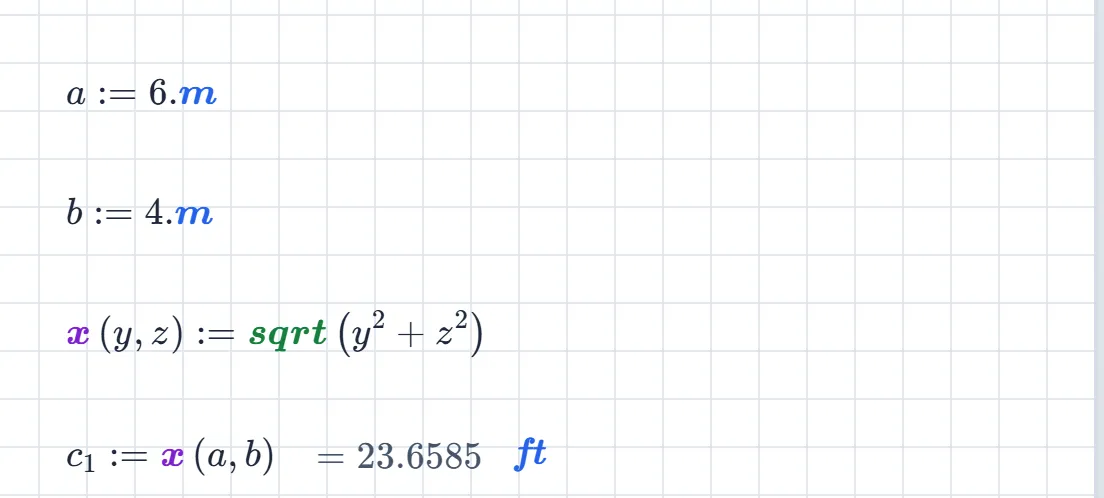
The result follows immediately – still in feet. Every block on a sheet works this way. Change any input and everything that depends on it recalculates, in reading order down the page.
10. Name it
Section titled “10. Name it”Click the name at the top of the workspace and type something memorable.

There is no save button to remember: moments after each change, Autosaved appears at the right of the header, and the sheet is kept in this browser. You’ll find it on your home page under Autosaved next time. When you want a file on disk, use Save in the worksheet menu (the ☰ button) for a portable .mez file.
Where next
Section titled “Where next”- Make the result pretty: right-click a block for decimal places, or explore the toolbar’s symbols, fractions and Greek letters.
- Keyboard shortcuts to write sheets without the mouse, including Enter for a new maths block below the current one.
- Tables and Matrices when one value at a time stops being enough.
- The worked samples show full calcsheets you can open and pull apart.